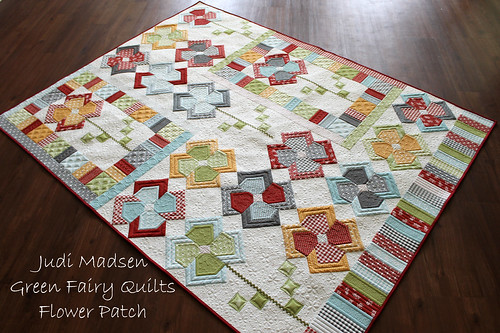
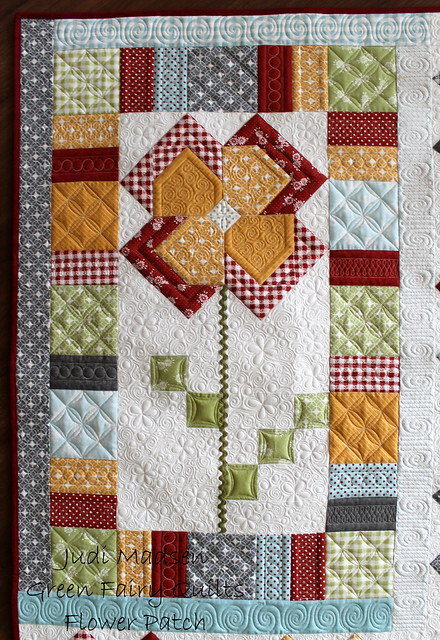
Flower Patch QAL Quilt Finished.
Remember when I started this quilt forever ago? I started a quilt along for my Flower Patch quilt pattern - one of my favorite quilts that I have designed. I also promised to show you how I quilted this top, so a video tutorial is going to be posted in a couple of days - watch for that.
The fabric used in the quilt is Flats by Angela Yosten for Moda Fabrics - I love this fabric, and used a jelly roll and layer cake for the piecing. Sadly this fabric is out of stock now, but you can use any fabric line that you like to make this quilt. I used Moda Bella Solid 9900-97 for the background white fabric- this is my go-to white fabric and I use it for all of my projects.
The fabric used in the quilt is Flats by Angela Yosten for Moda Fabrics - I love this fabric, and used a jelly roll and layer cake for the piecing. Sadly this fabric is out of stock now, but you can use any fabric line that you like to make this quilt. I used Moda Bella Solid 9900-97 for the background white fabric- this is my go-to white fabric and I use it for all of my projects.
I used two layers of batting. Hobbs 80/20 blend and 100% cotton together. I love using two layers of batting to give my quilts a lot of texture within the quilting. Plus the density of my quilting makes it so two layers are just better.
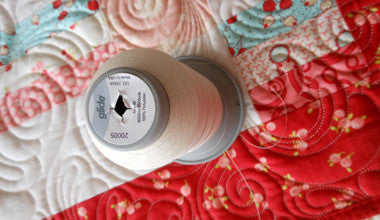
For thread I used Fil-Tec Glide Pearl for the top and magna-glide pre-wound bobbins for the bottom thread. The combination was perfect, I love how it looks.
The quilting took me a little over 15 hours to complete. So, not too long, but long enough ;-)
The quilting was done on my A-1 longarm and was free motion quilted along with a little ruler work.
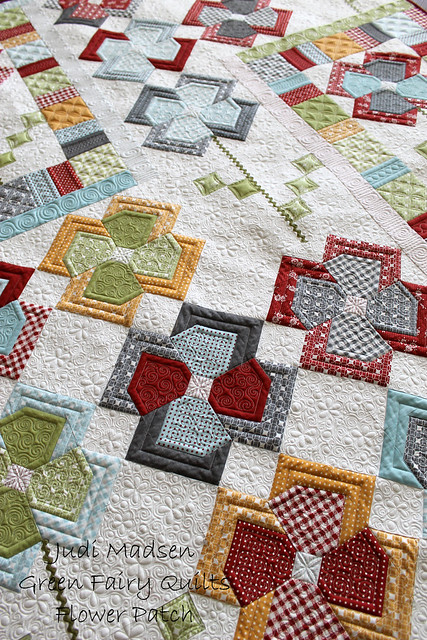
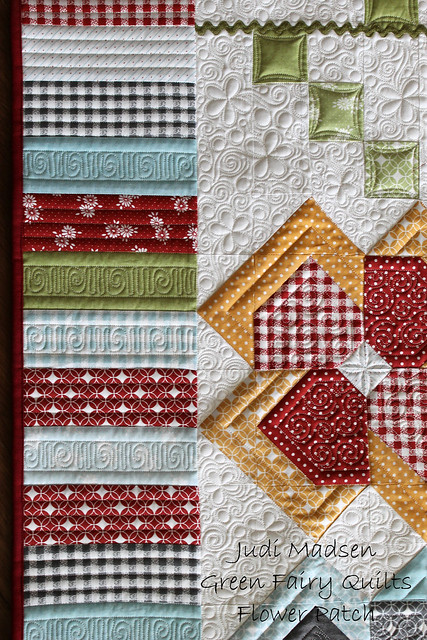
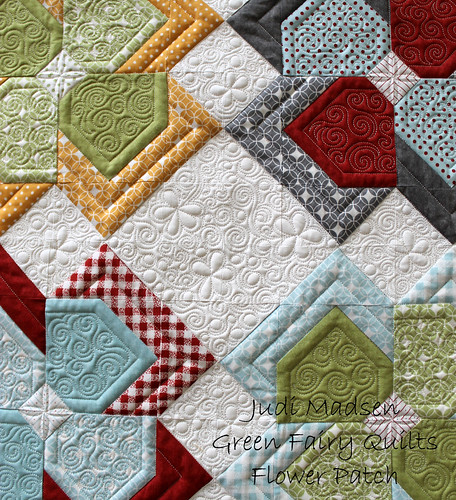
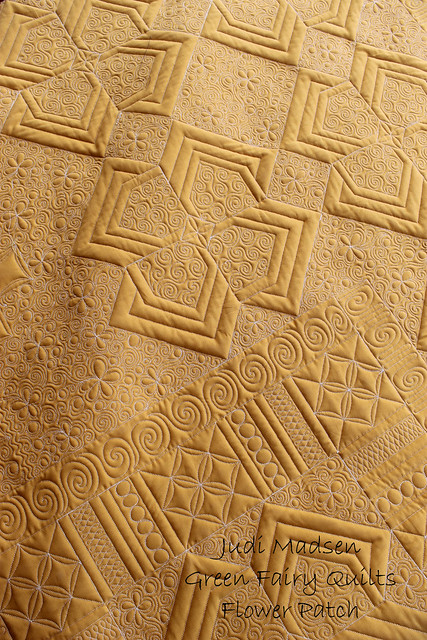
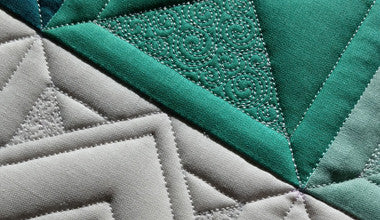
I wanted to have the flower blocks pop by quilting a dense background and also by quilting simple straight lines within the flower block.
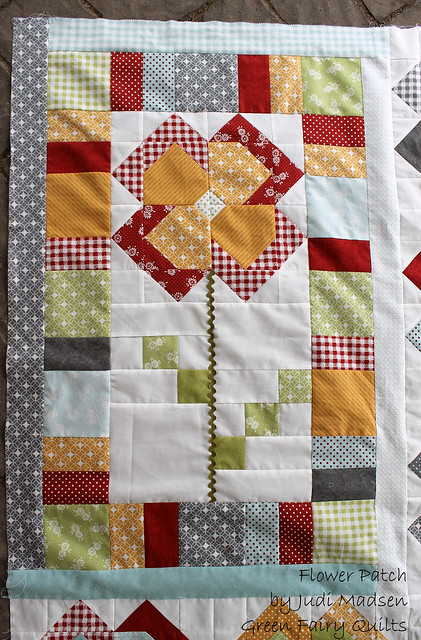
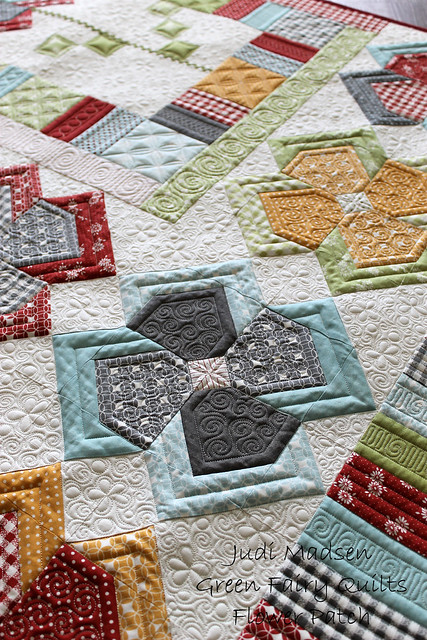
You can see the difference the quilting makes between these two pictures. I love the fabric so much and the pieced design is so fun, but the quilting finishes it off so nice.

You can see the difference the quilting makes between these two pictures. I love the fabric so much and the pieced design is so fun, but the quilting finishes it off so nice.
I love how the simple swirls in the strips and diamond connecting curves within the square shapes look, so fabulous!
The bottom of the quilt is one of my favorite parts of the quilting. I love using straight lines within rectangle sections of quilts. The squiggle swirl is also a favorite.
So the background quilting is a swirl, circle and flower combination. I had a lot of fun bringing in the flower shape to the background of the quilt. I will share how I do this on my tutorial coming soon.
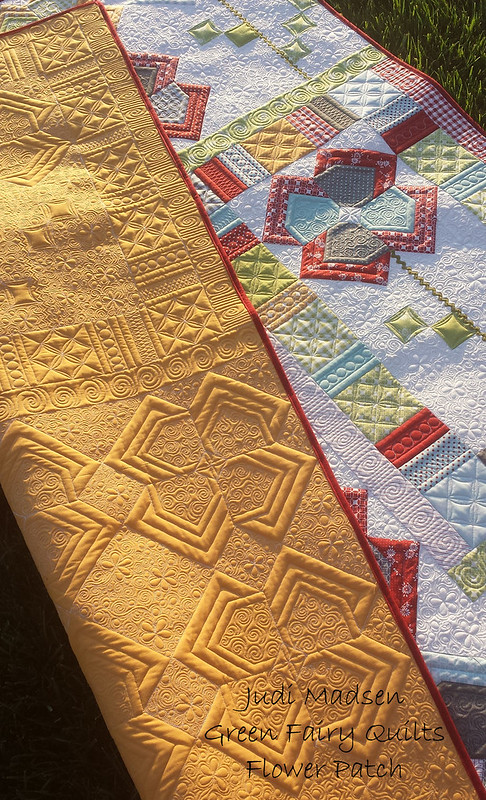
The back looks just as amazing as the front. This is why I love to use solid fabrics for the backs of my quilts. The color I used for the back is called Golden Wheat and it is the perfect color for this quilt and looks amazing with the brick red fabric I used for the binding.
Don't you just love this texture?
Don't you just love this texture?
Well, I hope you like it. I sure do. I am glad to have this finished and I encourage those of you who started this quilt-along with me to pick it back up and finish. I can't wait to see what you come up with on my Flickr group.
Also, those of you who want to make this quilt, you can find the paper pattern here and the PDF pattern here.
Also, those of you who want to make this quilt, you can find the paper pattern here and the PDF pattern here.
